Why sustainable?
Why anything else?!?
A definition of sustainability - "development that meets the needs of the present without compromising the ability of future generations to meet their own needs." from "Our Common Future," United Nations, 1987.
In what way is the Cubit sustainable?
Small Physical Footprint
-temporarily permanent installation: requires no permanent foundation, no septic tie-in, no grid connection, no fixed well
-easy to heat: small square footage and energy-efficient envelope translates to low BTU requirement.
Energy Efficient Envelope
-consists of SIP walls (R-24 roof, walls & floor) & low-emissivity argon-filled double pane insulated glass
Natural & Simple systems
-photovoltaic solar electricity: 12-volt electrical system is designed to run lights, charge laptops, cell phones and audio equipment, and run a few electrical appliances
-rainwater catchment: directly taps an otherwise unused source of water
-passive solar heat: south-facing windows utilize solar heat gain in the winter
-natural ventilation: windows are designed to catch and direct breezes for natural cooling in summertime
-natural daylighting - natural light is utilized to reduce lighting load
-compost toilet & greywater system: low-impact systems to manage human waste, and turn the waste into a useful product (compost and irrigation for a garden)
Sustainable Materials
-salvaged lumber used for windows and doors
-siding and trim was locally harvested & milled lumber
-EPS SIPs - waste product (saved from the dumpster) recyclable, durable - SIPs provide efficient insulation with minimal thermal breaks
Monday, November 22, 2010
Monday, November 15, 2010
Cubit Construction

The foundation of the Cubit is a steel trailer. This allows the house to be moved when necessary, and also helps to lessen the ecological footprint of the house by not requiring a permanent foundation.

The panels were hauled on the trailer across Vermont to the construction site.

The floor was built upside-down on the trailer and then flipped over. It required lots of levers and rigging - next time, I will build the floor right-side up!

SIP walls are precut, according to shop drawings, and then framing lumber is added afterwards.
 The SIP walls are pre-built on the platform, and framing lumber is installed and screwed in place.
 Once the walls were built on the deck, they were then raised (with help from my father and Herb Bates) and secured in place. Firefly, my dog, was also very helpful with the construction.
The roof panels were hoisted onto the walls using ramps and straps.

After the walls are assembled, foam is injected into holes drilled in the panels. This helps to seal the envelope of the building, and create a continuous insulation barrier.

The walls are wrapped in tar paper in order to help weather-proof the walls.

Siding is applied over the tar paper. The siding is built out from the walls, with a 1/4" space behind it to allow for vapor venting and prevent rot.
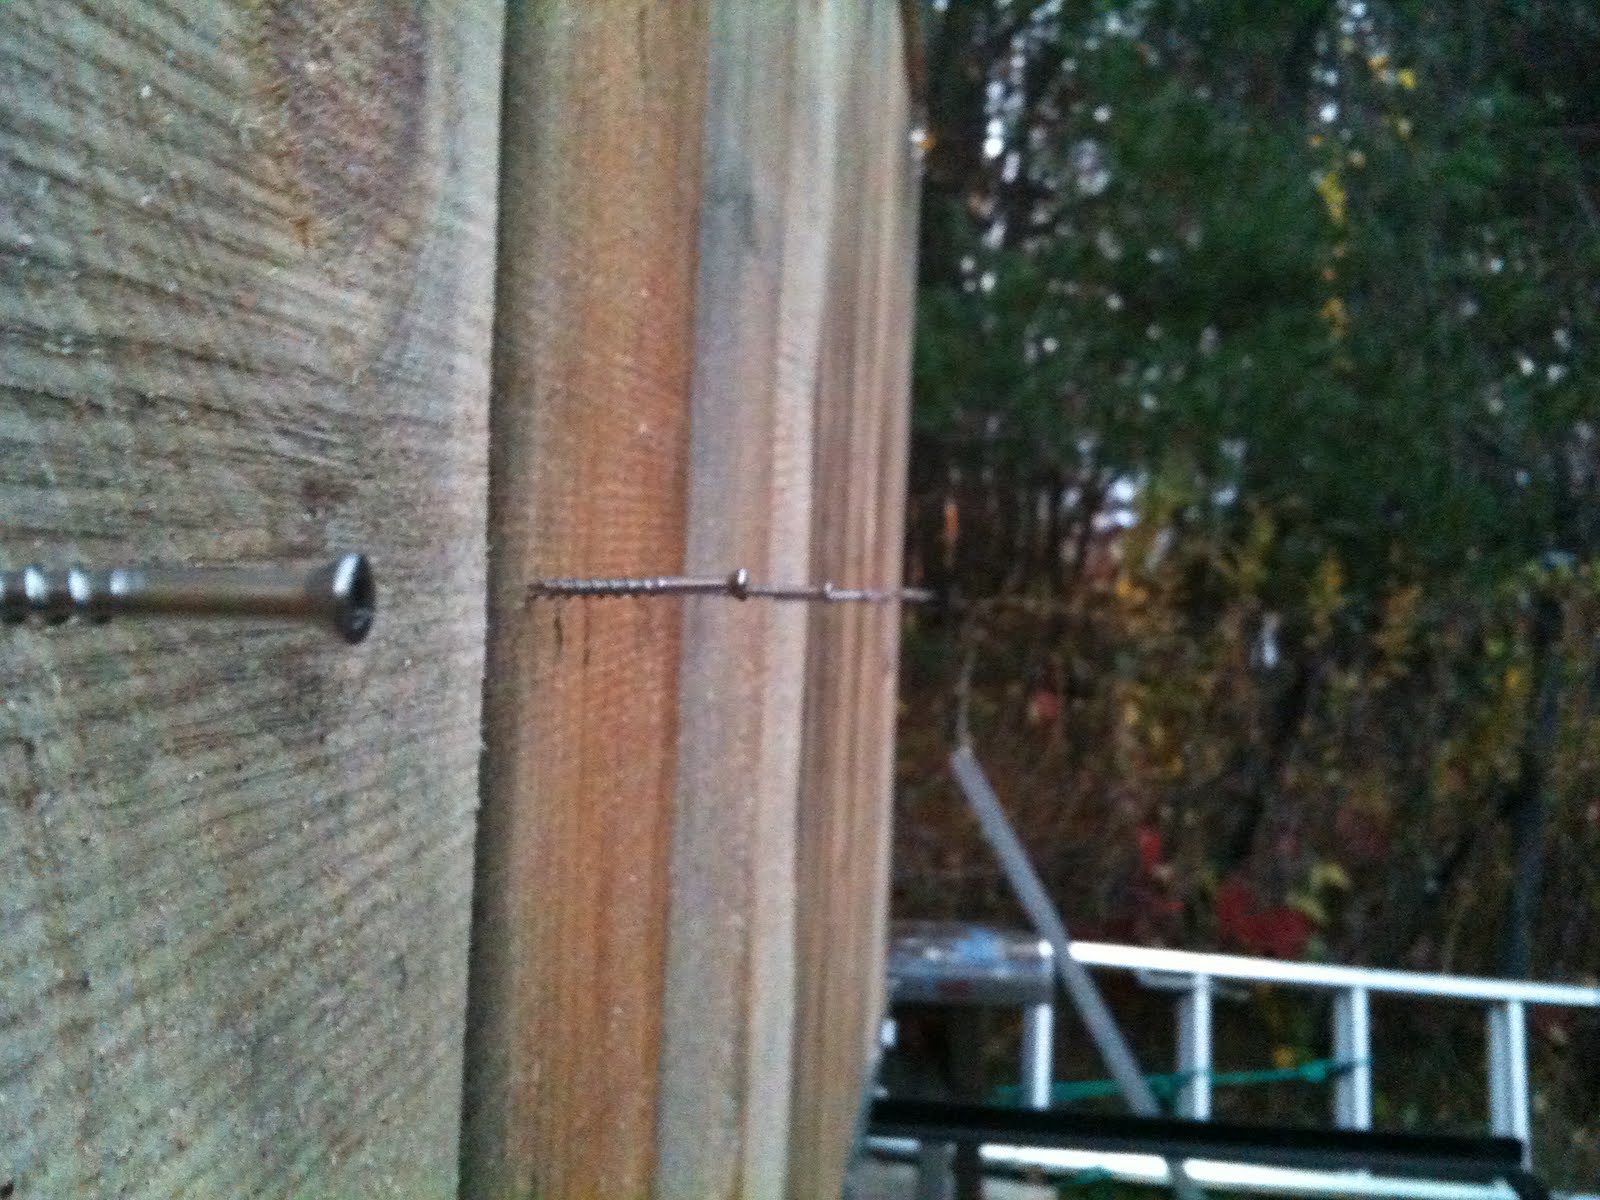
The siding is secured with screws in order to strengthen its fastening to the walls for transport over the road. Everything must be designed to withstand 70 mph winds!
 After the construction was complete, it was time to move the trailer - it was a trick getting it out of a tight space!
 The Cubit trailer, secured and ready to haul!!!
Energy Efficient Doors and Windows: Design and Build
Windows and doors are an indispensable element to building a house. They provide ventilation, light, heat from sunlight, and a means to enter and exit a space. They also function to protect the interior space from the outside elements. In order for doors and windows to be energy-efficient, they must create a tight seal at their edges and insulate from the cold, as well as functioning (opening and closing) to provide ventilation.
Designing windows and doors and building them from scratch was the most challenging aspect of this project. Not only did I have to design a window design which seals out the elements and provides optimum insulation and sunlight, but I also needed to acquire materials and design a shop process for milling the windows to precise tolerances needed to assure proper operation of the window unit.
Designing a full set of custom windows was too much of a task. If I did this project again, I would acquire salvaged windows, and then design my house around them!
The joinery for the window was was fun to design:

The window joinery took three tries to get right. Mock-ups of the joinery were important for me, in order to understand how the rails and stiles fit together. The window joint is a double-lap joint.

The joinery is pegged (square pegs in round holes) in order to make it stronger and more stable. The peg holes are offset in order to draw the joints tighter, so that clamps are not required for the assembly (I don't own enough clamps to clamp all of these windows!)

Here are the finished windows units, ready to be installed. The glass units are 3/4" double pane insulated glass, with low-emissivity coating.

The doors have a square mortise and tenon. The tenons are cut on a table saw and the mortises cut with a square-mortise machine (a drill press with a square bit). Precise milling of the wood is critical to ensure a consistent and tight fit for the joints.

Sunday, November 14, 2010
Small-scale Manufacturing Processes
When I made my windows, in order to streamline the process for manufacturing 9 window units, I developed my processes to be easily repeatable. The window sashes required multiple passes on the planer, and multiple passes through the table saw: first to cut the profile of the sash, and then to cut the joints at the corners. Each precision setup on the table saw would be run however many times were needed (sometimes up to 36 times) before breaking down the setup and making a new setup. Special jigs had to be made, which attached to the table saw, in order to keep the operations precise.


Jigs are important; when the same cut must be made tens or hundreds of times, making a jig saves a tremendous amount of time, saving the measure, cut, measure, cut process. I applied this principle a number of times: cutting the siding (every piece cut to 72 1/4" inches), manufacturing the trim (every one had to have the same lap cut in it), milling the windows, and cutting the joinery for the doors.
Recycled & waste materials
When milling the features of my house, I used reclaimed materials whenever possible.
The doors are milled from 220 year old lumber: hard pine floor joists which came out of a 1790's cape which was disassembled and moved. The timber was harvested on the present site of Timberlee Park, my childhood home (a 1970's neighborhood development), and was milled at the Cooperage, a local sawmill.
The window sashes are milled out of wall studs which came from my brother's 1948 home. The studs were beautiful, clear, straight-grained douglas fir with 20 growth rings per inch. These framing studs, which today would be grown from fast-growing spruce, were harvested in a time when old-growth forests were more abundant. One would be hard-pressed to find wood this nice in a lumberyard today, even at a steep price.
The jambs of the windows are made from reclaimed waste wood: timber cut-offs from a timber-frame jobsite.
The walls are built from scraps of SIPs (structural insulated panels) which I salvaged from a SIP manufacturer's yard. The scraps were bound for the dumpster, and by building my house out of them, I was giving them a second chance at life.
Moved my tiny house!

Yesterday, I hauled cubit over the mountain. 150 miles, from Ashby, MA to Saratoga Springs, NY. The move went well, and incident-free (we did crack a taillight bottoming out at the end of the driveway).

The house is now situated at Empire State College at 111 West Avenue in Saratoga Springs, where it will be on display until December 13, 2010.
Wednesday, November 3, 2010


Tuesday, November 2, 2010
Progress has been getting in the way
It has been months since I have updated these pages, mostly because I have been too busy building my tiny house!
The windows have been built and installed - hoo boy what a project!!! I am quite pleased with the results though. More on that later...
The exterior trim was next, and also a very challenging project (still yet incomplete) full of tiny details - never would I choose to do things the easy way.
This picture is a week old:

The loft has been in place for some time, but I have started with interior furnishings, which is making it feel like a house - it is interesting dwelling within the space, getting a feel for it.
I am frantically preparing for my exhibition at Empire State College, which goes up November 13. (yikes!)
I will update this blog further soon. I promise.
Subscribe to:
Posts (Atom)
